
Tools for Installing IRX Railings
We’re a deck builder and developed these tools for our own use in building decks with Impression Rail Express. They make the process faster, simpler, and ensure quality installation.
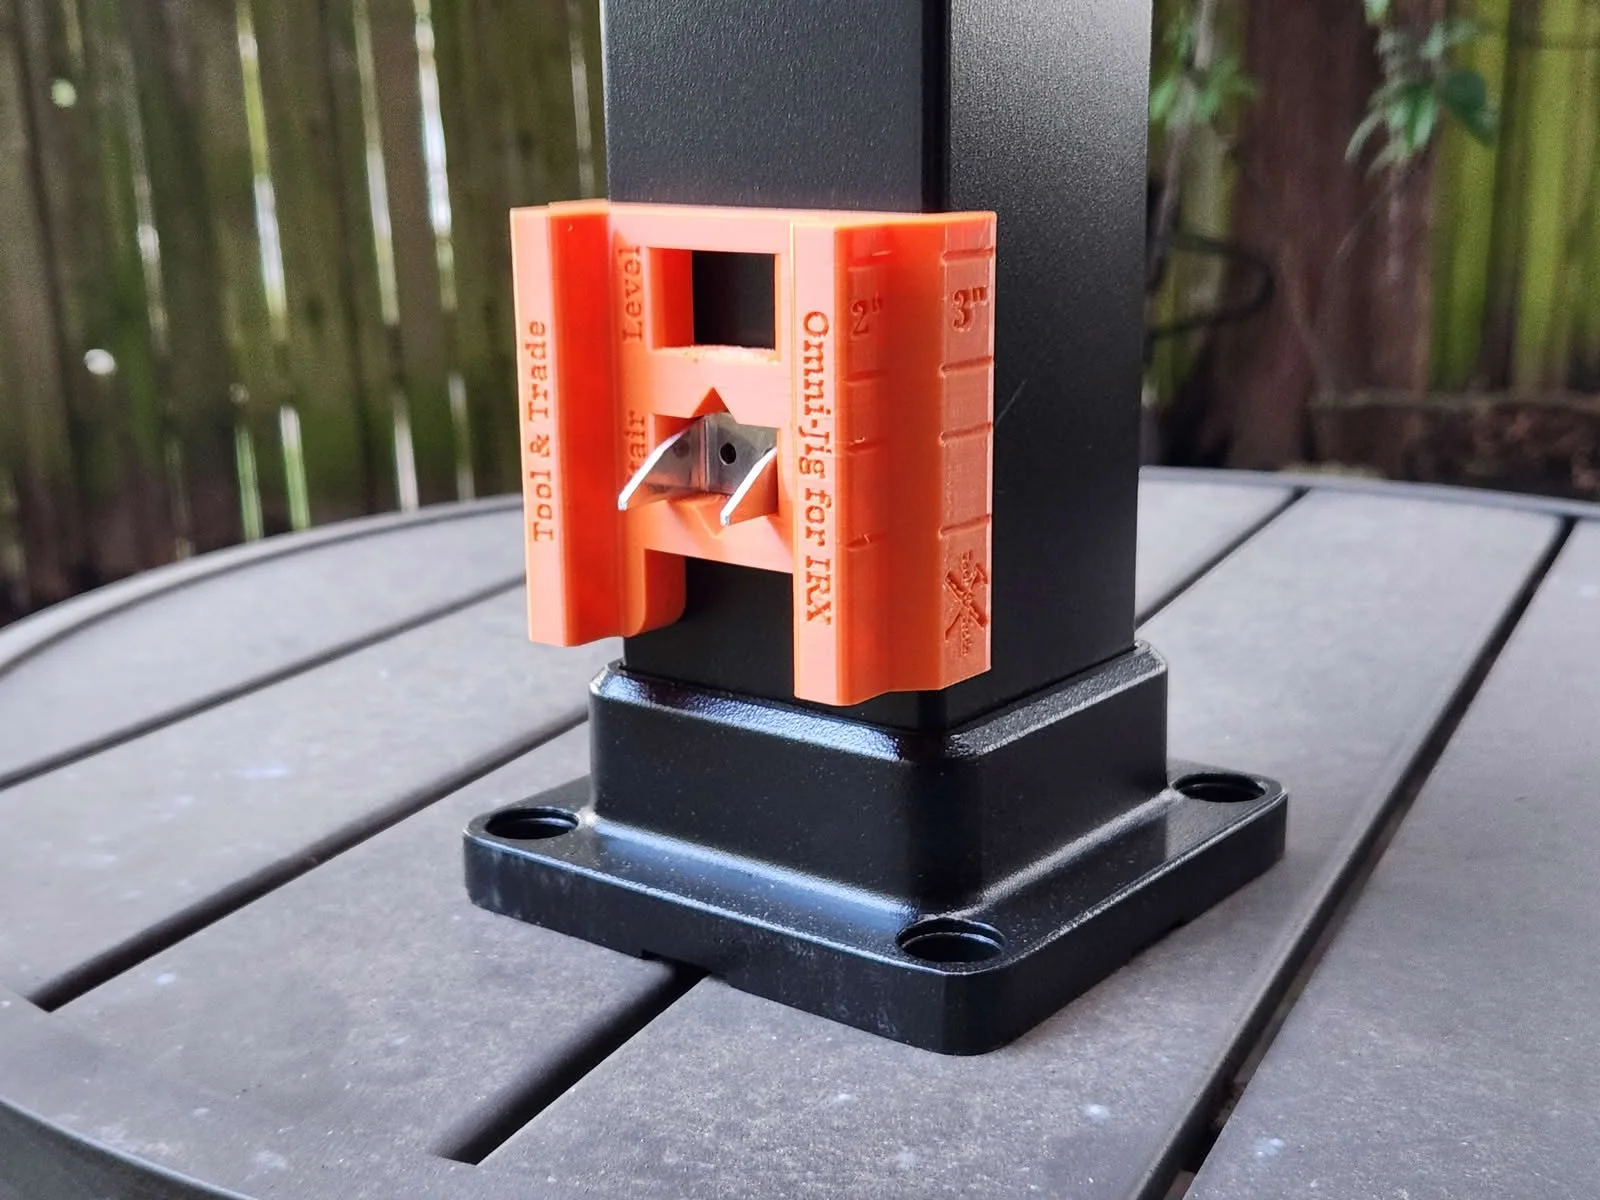
Omni-Jig for IRX (2”+3” Posts) -
Speeds installation of railing clips and railings.
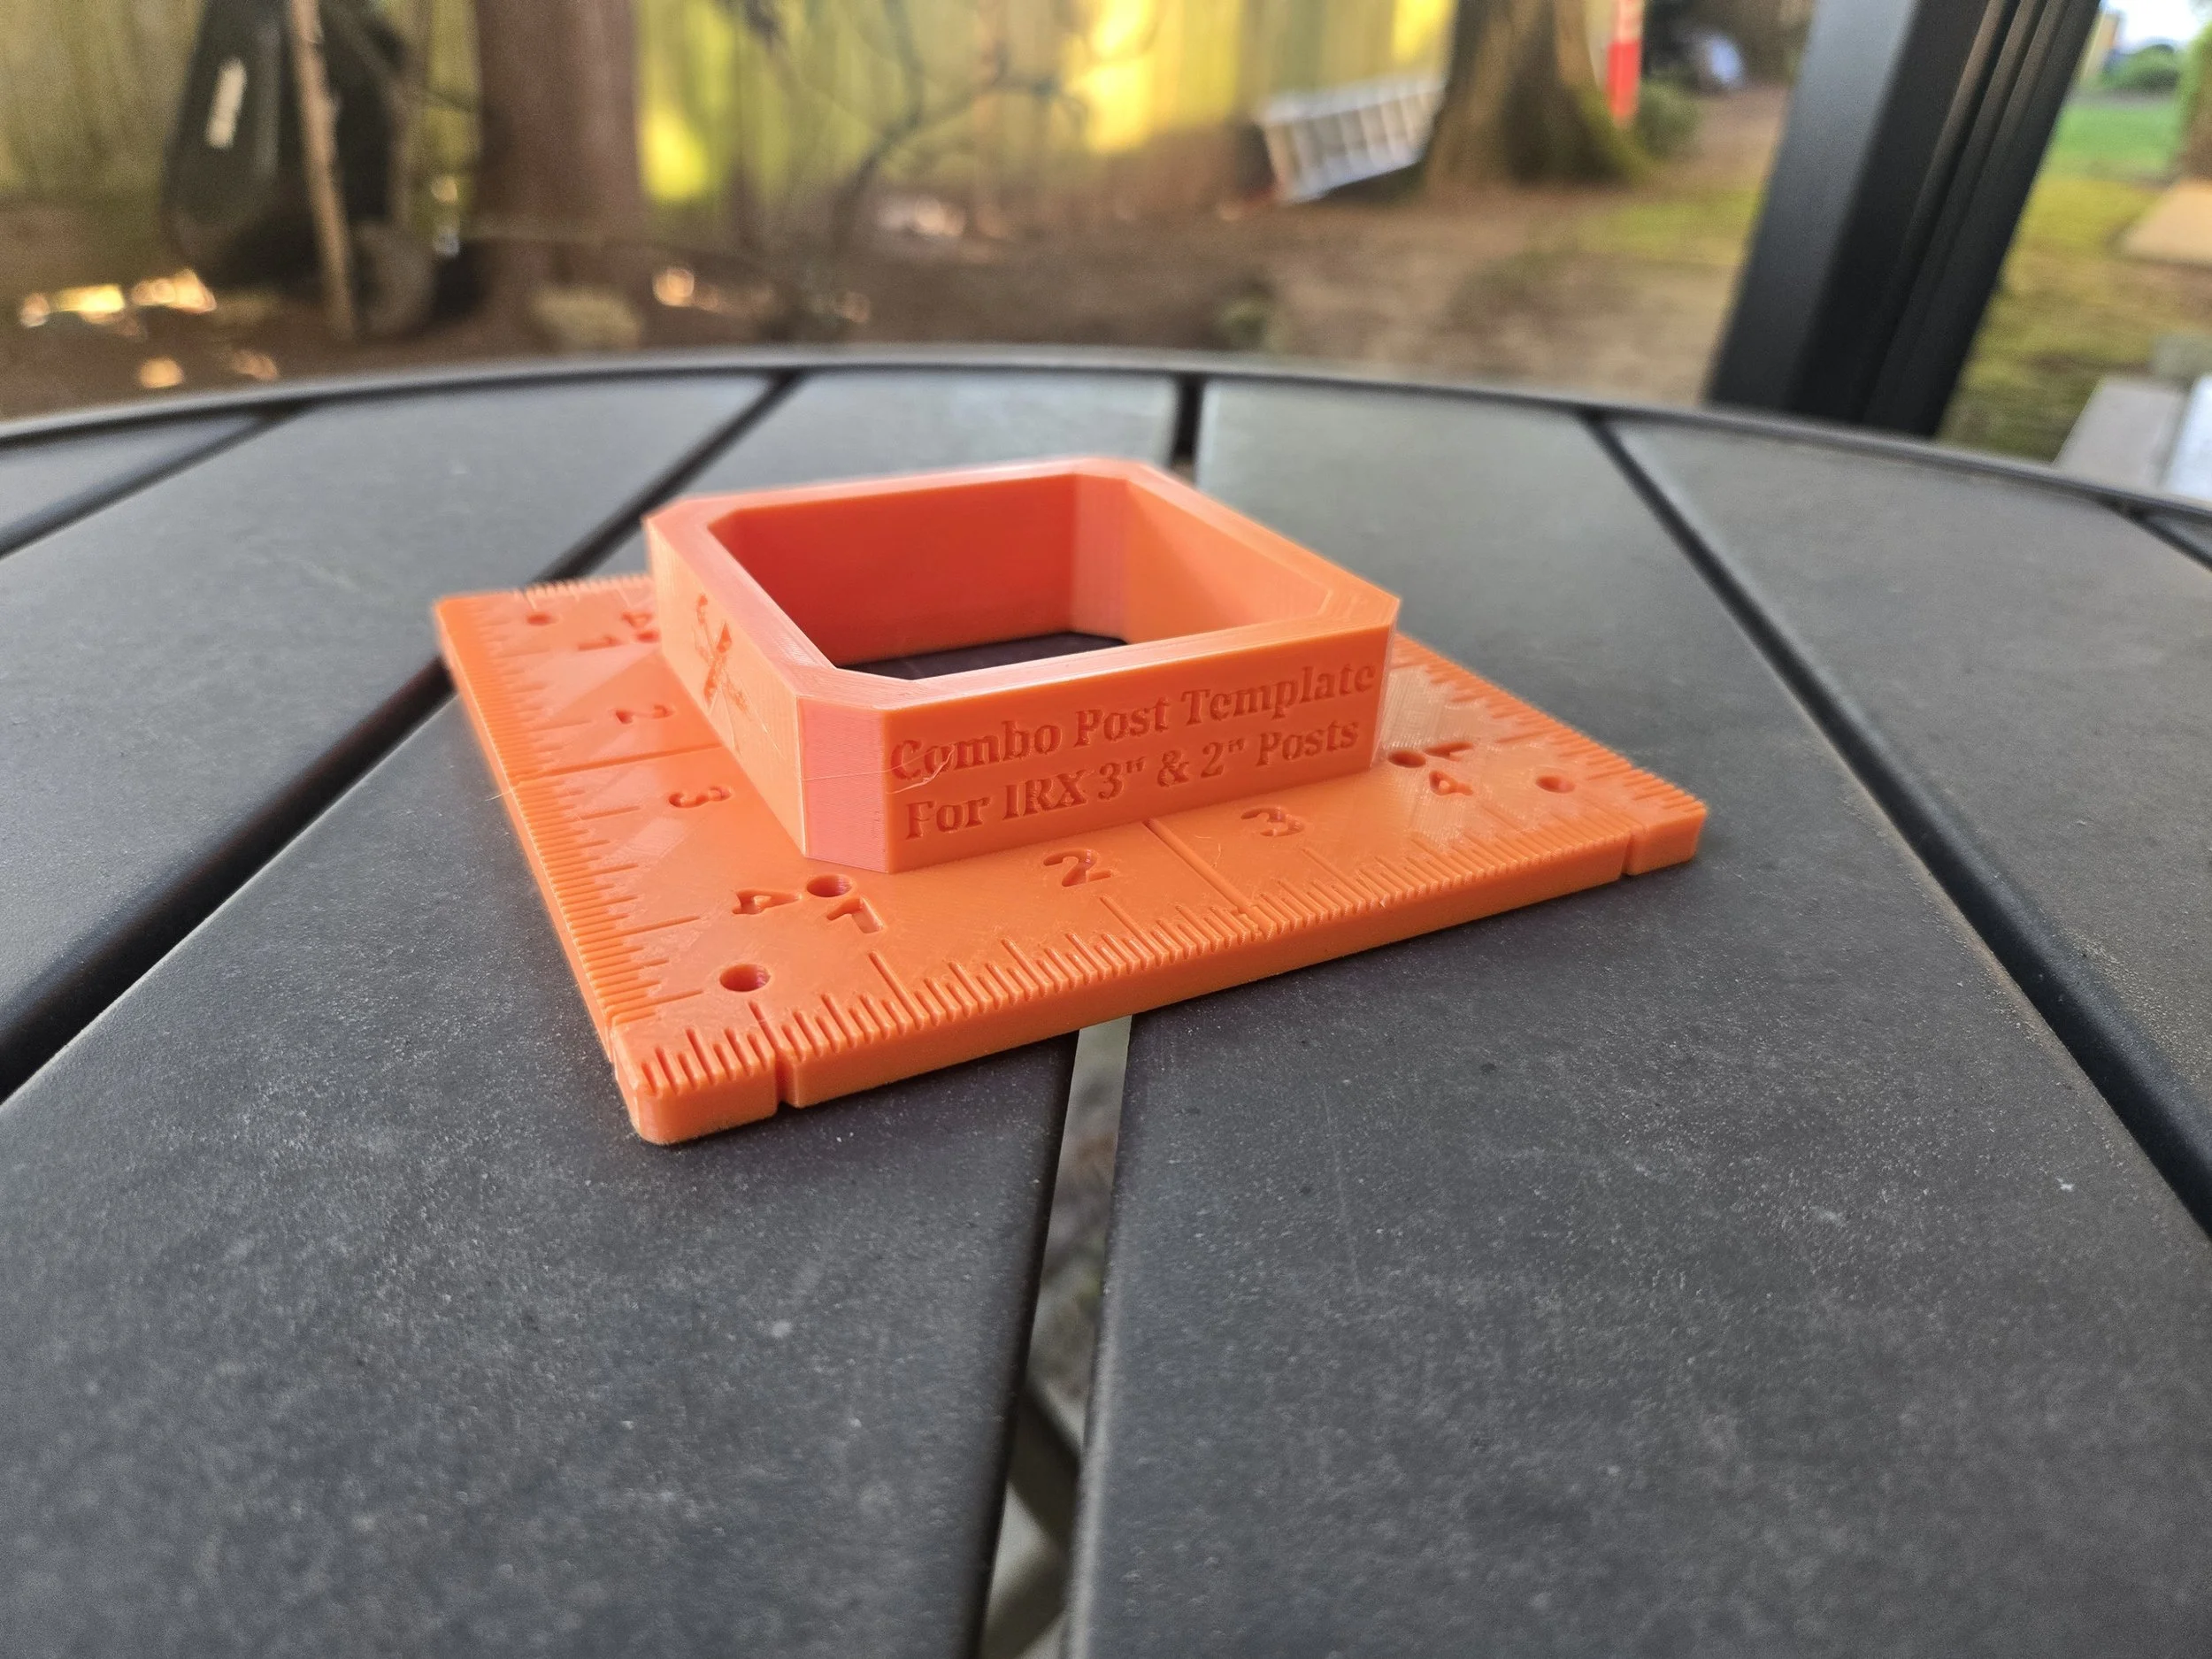
Post Layout Jig for IRX (2”+3” Posts) -
Assists post layout and provides precise pre-drilling for post lags
See it in Action
Installation time old way = 60 seconds
Installation time w/ Omni-Jig = 15 seconds
The difference: 4x Faster and Accurate Installs Every Time
Who is this for?
Professional installers who want to streamline their process, reduce mistakes, and deliver cleaner, higher-quality IRX installs faster. Built for jobsite abuse, this is not a disposable tool.
DIY builders who want to simplify a complex railing install and do it right the first time.
These tools are compatible with TimberTech IRX, UltraLox, Aria Railings, Harmony Railings, and Williams Railings. They cover 2” and 3” installations, both level and stair installations.
Level Rail Installation
Place jig onto the post — tight to the base, open end towards the base of the post
Place clip in the jig — fully seat clip against post
Install screws.
Set railing panel on clips
Use jig to center and secure top of railing panel
Install top clips
Full Step-by-Step Level Rail Installation Guide
Stair Rail Installation
These are tricky, we recommend watching the full tutorial video below.
Full Step-by-Step Stair Rail Installation Guide
*We are currently catching up with demand from Amazon!
If you need the jig or post base template faster, call 360-333-4591*